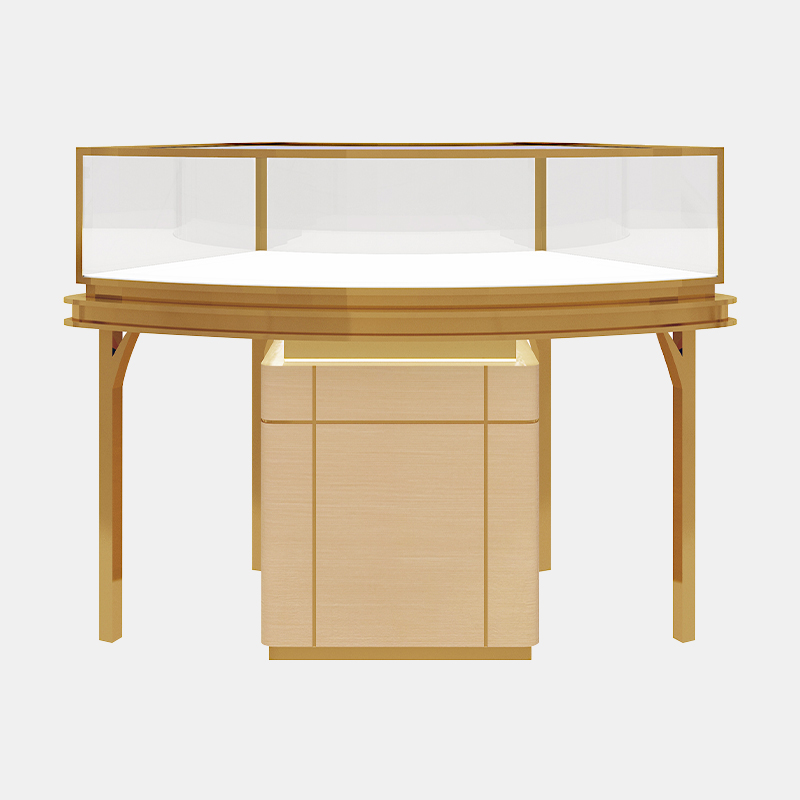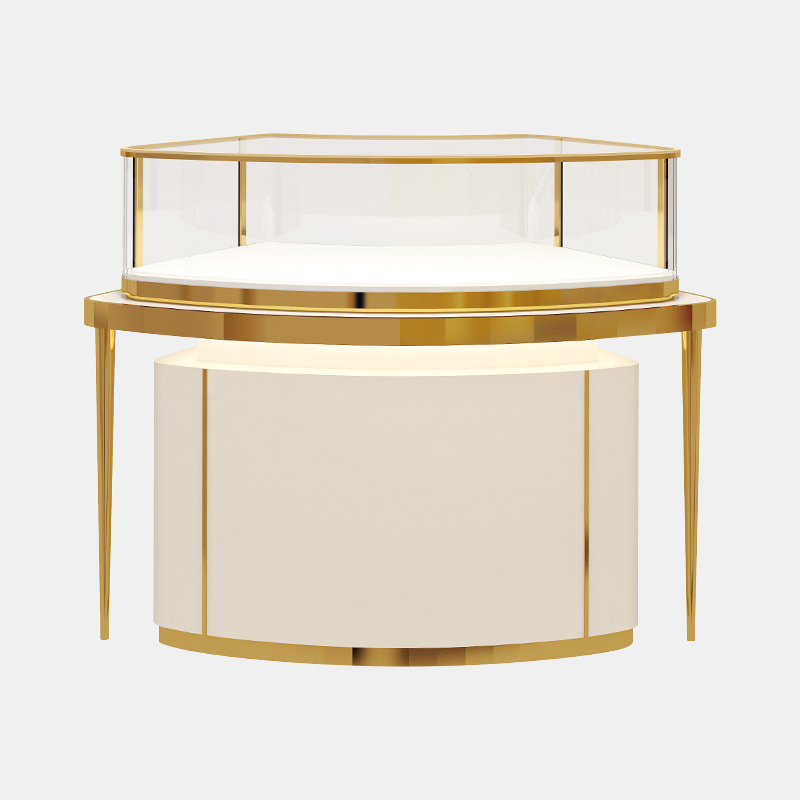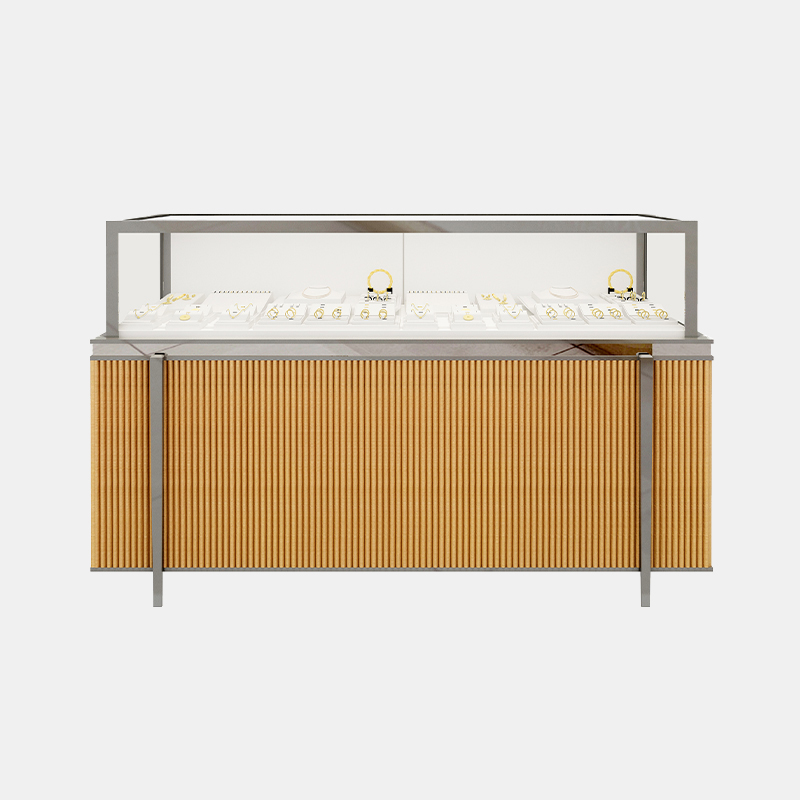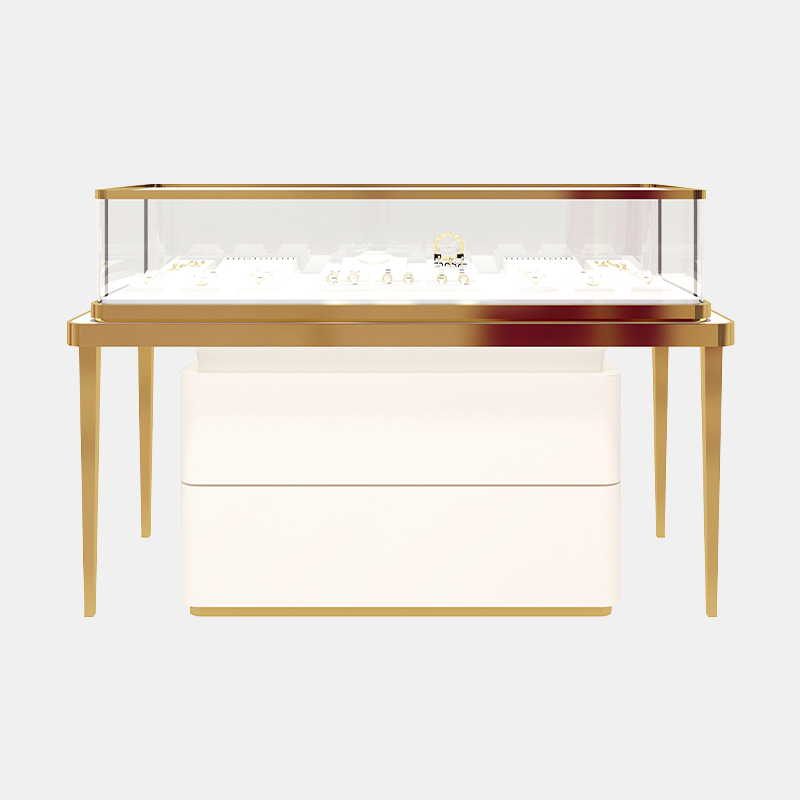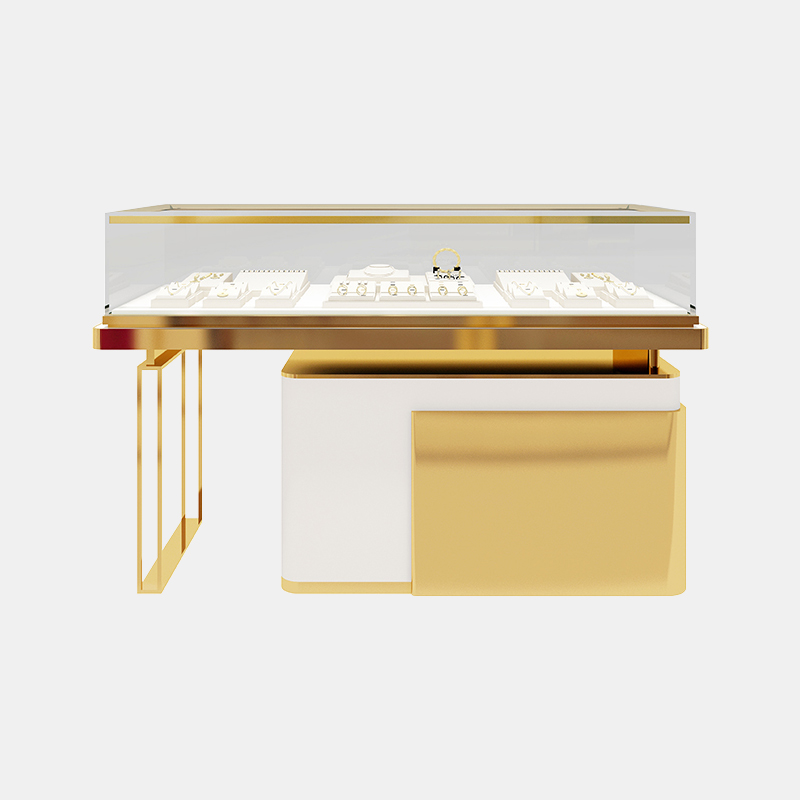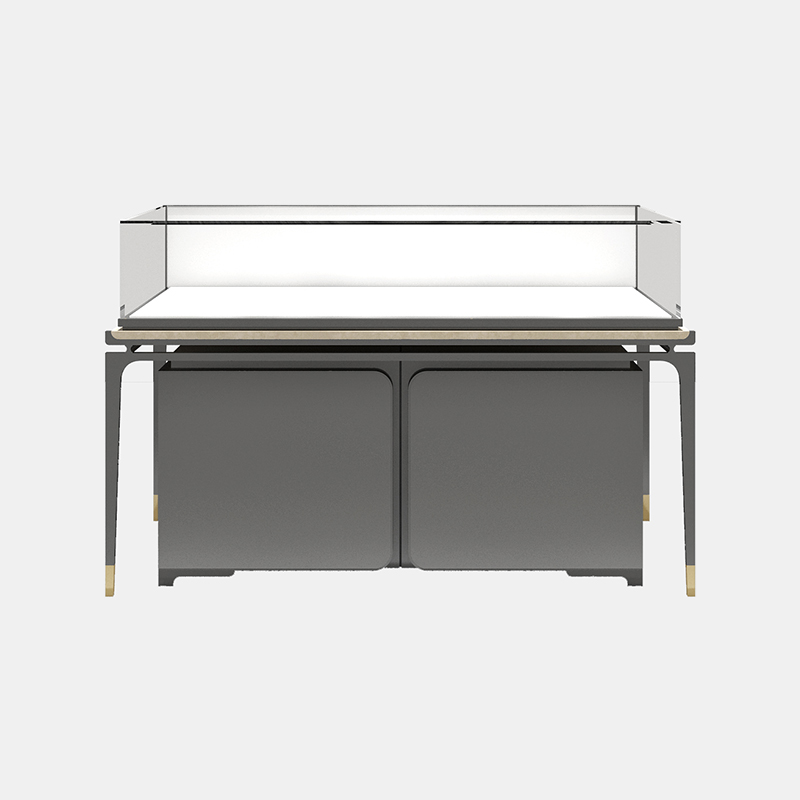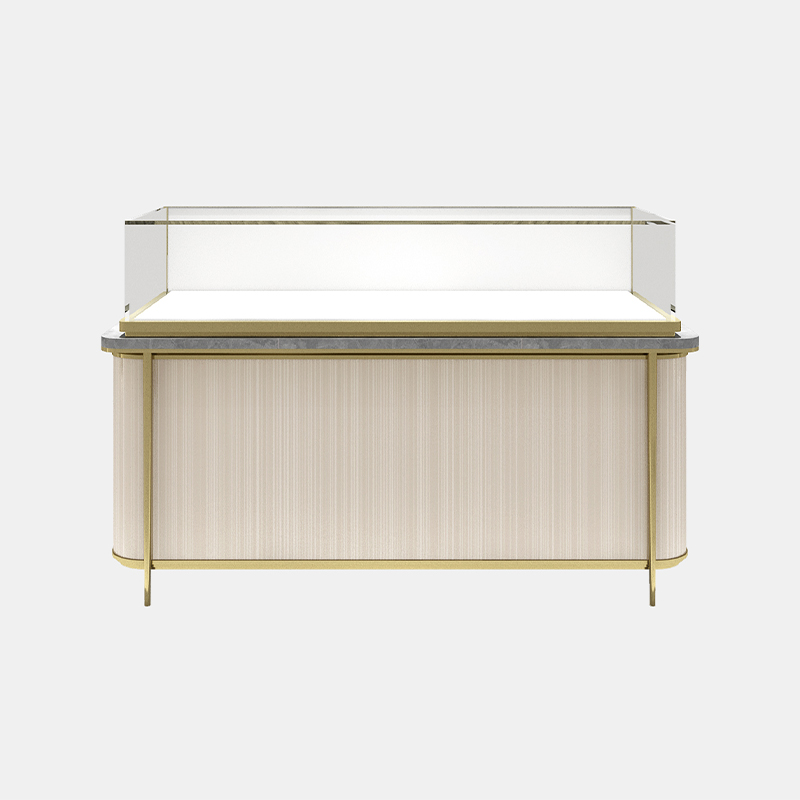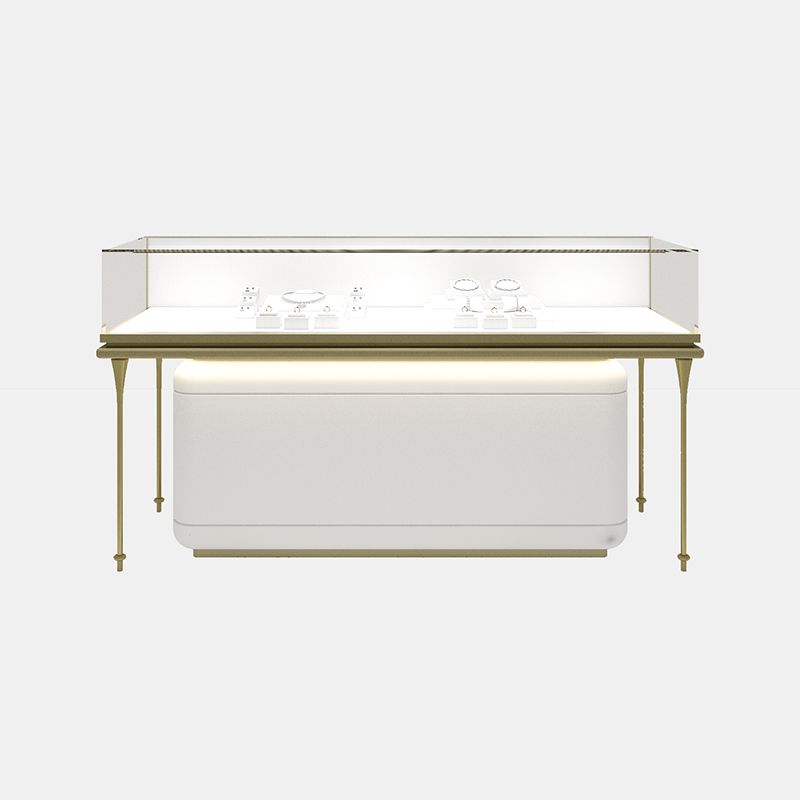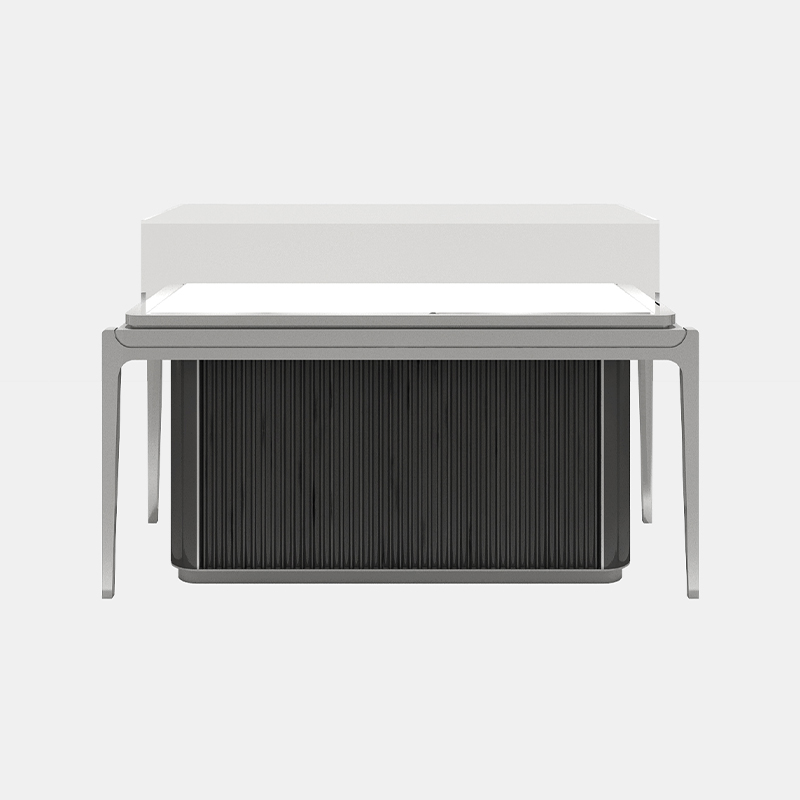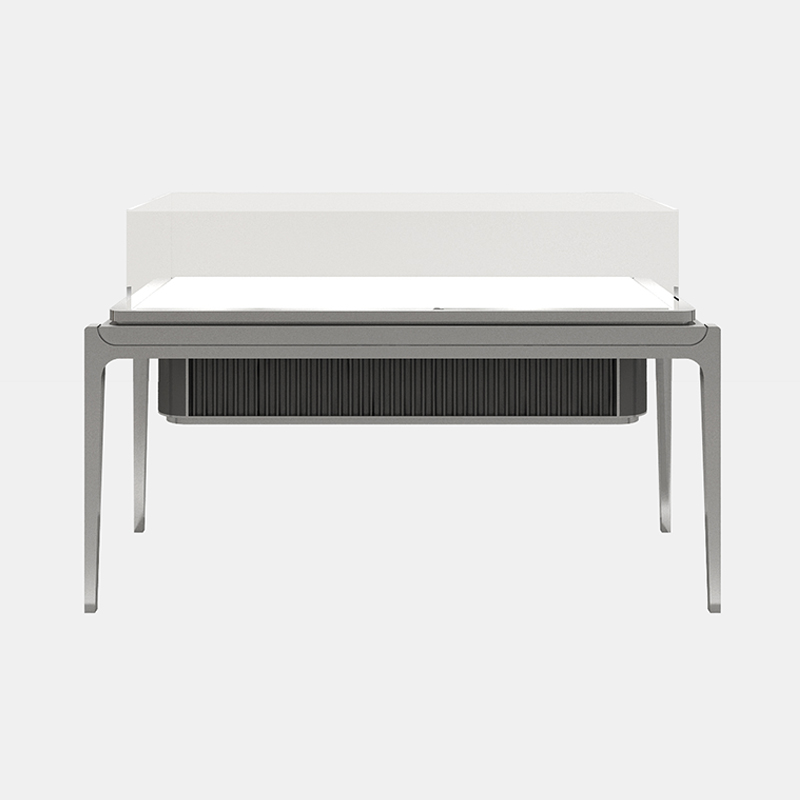
Two weeks before handover, an 80 m² jewellery unit in a shopping mall looks finished. Then the first base cabinet is set down on the marble plinth, and the plinth turns out to be 9 mm higher than the drawing assumed. The socket outlets sit 120 mm behind the drawer box, and the track spots are aimed at the place where the tall cabinets were meant to stand.
Nothing is broken, but three trades have to come back and the opening slips. Shop fitting problems are rarely about taste. They are about interfaces — the points where the shopfront, ceiling, floor, power and display joinery meet. Get those right and a store opens on schedule; get them wrong and every trade blames the next one.
Content
Shop fitting, often called retail fit-out, is the package of work that turns an empty shell into a trading space. It normally includes partitions and ceilings, floor finishes, power and data distribution, lighting, the shopfront and signage, and the display cabinetry and counters that customers actually touch. It normally excludes stock, POS terminals, loose furniture, window props and the landlord's own base build.
That boundary matters more than the list itself. A display cabinet is a precision product built to tight tolerances, and it is installed into a space built by trades working to construction tolerances. Someone has to own the join between the two — and that decision has to be made before the cabinets are released to production, not after they arrive on site.
| Workstream | Usually owned by | Must be locked before | Common failure |
|---|---|---|---|
| Survey and setting out | Fit-out or main contractor | Cabinet drawings are issued for approval | Levels taken from superseded drawings |
| Power, data and lighting points | Electrical and lighting trades | Cabinet shop drawings are approved | Sockets fall behind drawer boxes or glass |
| Floor and plinth | Flooring trade | Cabinets are released to production | Finished floor height changes after release |
| Display cabinetry | Shop fitting supplier | Glass and special profiles are ordered | Glass colour varies between batches |
| Ceiling and lighting aim | Fit-out and lighting designer | Cabinets are installed | Beam angle aimed at empty space, not product |
| Shopfront and signage | Specialist contractor | Landlord approval is granted | Signage clashes with the shutter box |
Most shop fitting delays are not caused by slow work. They are caused by work starting before the information was ready. A cabinet that takes four weeks to build can sit in the factory for another four because the glass was ordered late or the finished floor level was never confirmed.
The dependable sequence is short: survey and set out, freeze the general arrangement, get shop drawings approved, release the long-lead items — toughened glass, special profiles, lighting — complete first-fix electrical and data, close the ceiling and lay the floor, install the cabinetry, then snag.
The week numbers in Figure 1 are indicative and every job differs, but the order is not negotiable. Anything that will be buried behind a finished surface has to be decided while it is still visible.
A shop fitting lives or dies at four interfaces. They are dull, which is exactly why they get skipped.
Where an existing model will not fit the space, made-to-drawing joinery is almost always cheaper than rebuilding the room around a stock cabinet — provided the drawing arrives before the glass order.
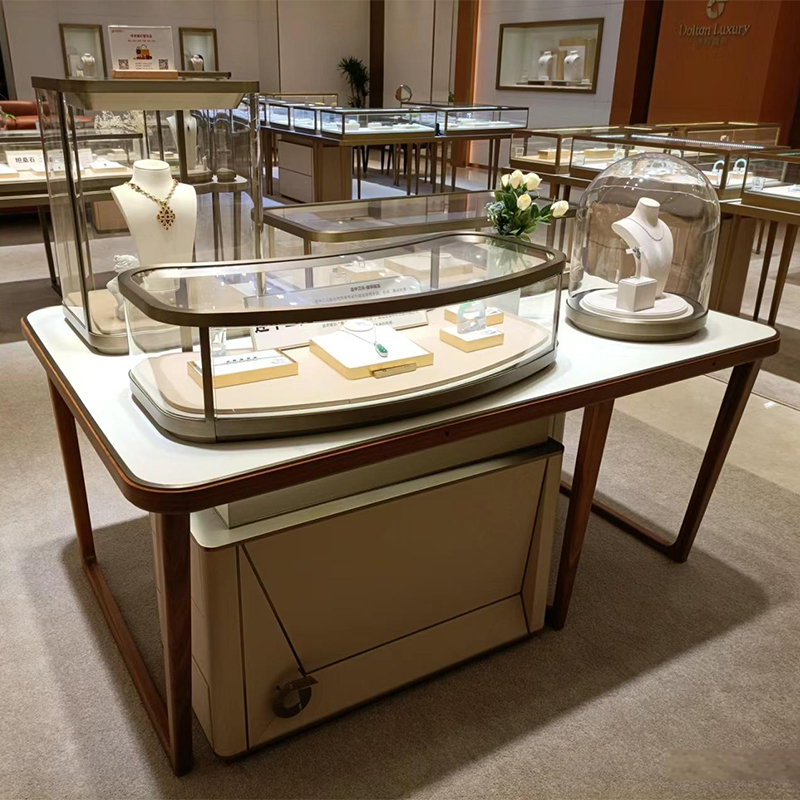 CM-104 Customised Combination Display CabinetsCustomisable combination display cabinetry presented for retail projects, where made-to-fit joinery and material selection matter before glass and fittings are ordered.View Product →
Retail space is an abrasive environment. A cabinet door in a busy mall unit can close a hundred times a day, cleaning chemicals come out weekly and sunlight hits the same glass every afternoon. Material choice should follow those conditions and the merchandise, not a mood board.
| Material | Where it works | What it gives you | What to watch |
|---|---|---|---|
| Toughened glass, 8–12 mm | Full-height fronts and tall showcases | Maximum sightline, easy cleaning | Weight; openings must be exact; edge polish quality varies |
| Brushed stainless steel 304 | Frames, edge trims, plinths | Impact resistance, low maintenance | Fingerprints; grade 316 for humid or coastal sites |
| Solid wood and veneer | Drawer fronts, trays, warm finishes | Premium feel, repairable | Movement with humidity; needs stable cores |
| Lacquered MDF | Back panels, counters, colour-matched surfaces | Any colour, sharp edges | Edge chipping; batch-to-batch colour drift |
| Powder-coated aluminium | Light frames, slat walls, shelving | Light weight, clean lines | Can read as lower value in luxury settings |
| Stone or sintered compact | Countertops and plinth tops | Scratch resistance, useful weight | Brittle at unsupported edges |
A workable rule is glass for sightlines, metal for structure and edges, wood and lacquer for brand colour, and lighting for everything else. Mixing lacquer batches within one project is the most common cause of visible colour drift, so panels for the same store should be finished together.
Combination units such as this jewellery cabinet show how glass, steel and lacquer are usually mixed inside a single carcass.
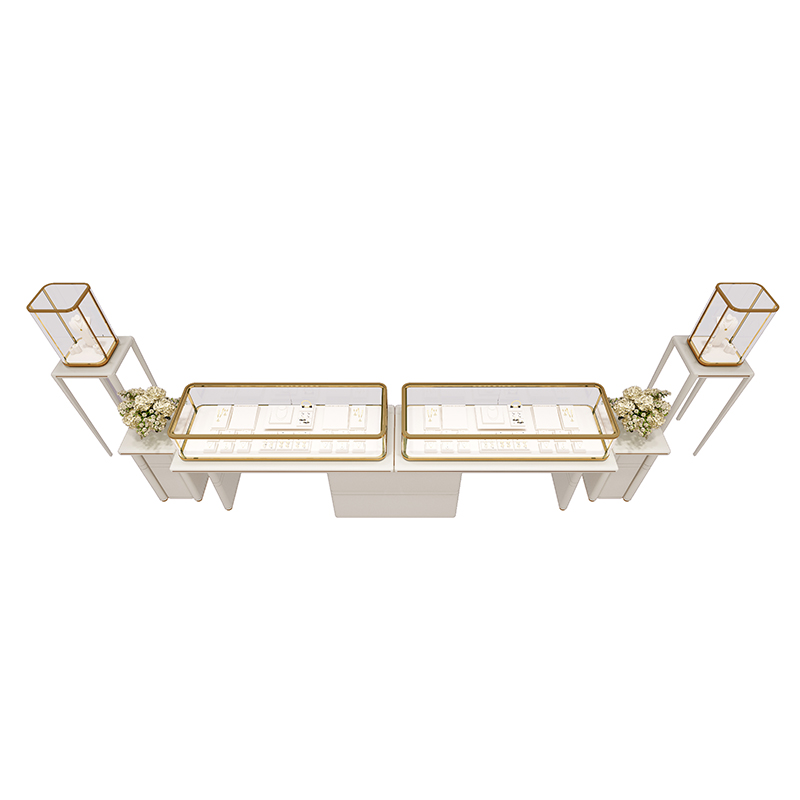 JR-C101 Jewellery Combination Display CabinetJewellery combination showcase with drawers, compartments and display areas, presented where glass, steel and lacquer are mixed inside one carcass for retail display priorities.View Product →
The carcass logic stays the same across retail, but the priorities move.
Getting this wrong is expensive in a quiet way: the joinery performs, the shop simply does not sell as well as it should.
A high glass unit such as this clothing display cabinet illustrates the apparel approach.
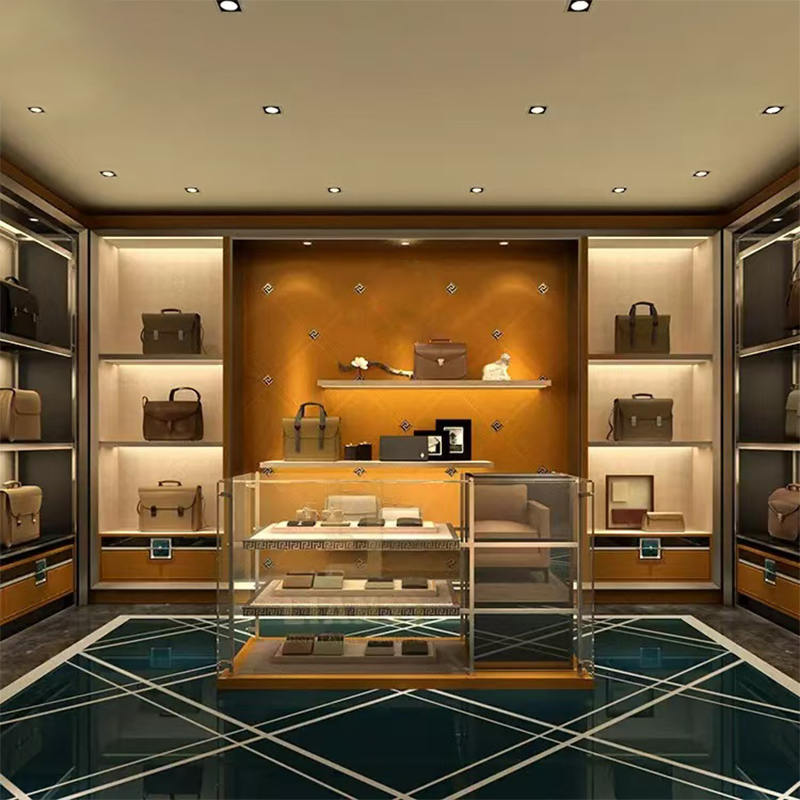 CC-S101 High Glass Clothing Display CabinetTall transparent glass clothing and bag display cabinet shown as an apparel retail fixture, positioned where shop fitting quotes and bundled display elements need comparison.View Product →
Shop fitting quotes are hard to compare because they bundle different things under the same heading. The lines that genuinely move the price are usually these:
Ask for a breakdown by workstream and a unit rate per cabinet type. A single lump sum hides exactly the information you need to make a decision.
The practical test of a supplier is whether it can hold both ends of the job: the drawing and the installation. Zhejiang Suntop Commercial Display Products Co., Ltd. was founded in 2009. Currently, the company's factory covers an area of 25 acres, with a building area of 25000 square meters and an annual production capacity reaches 300 projects. Our main customer types include jewelry, cosmetics, watches, museums, etc. The company adheres to a highly specialized spirit and strives for excellence in the creation of every display space cabinet, aiming to perfectly reflect the customer's brand concept and value through high-quality display spaces. After 16 years of deep cultivation in the display props industry, Suntop has won the provincial high-tech enterprise and credit enterprise awards. At the same time, it has obtained a number of relevant industry technology patents, providing a guarantee for product quality.
Because design, manufacturing and site installation sit inside one organisation, the team that draws the cabinet also answers for whether it fits the plinth. You can review the production base and capacity on the factory page, and see completed jewellery store projects in the case library.
Q1. How long does a shop fitting project take?
For a single unit of roughly 60 to 100 m², allow about 10 to 14 weeks from survey to handover. Display cabinetry usually takes four to six weeks of that, and toughened glass is often the longest single item.
Q2. What is normally excluded from a shop fitting quotation?
Stock, POS hardware, loose furniture, window props, landlord fees and often floor preparation and builders' cleaning. Check the exclusions list before comparing prices, because it changes the totals.
Q3. Can cabinets be made to our own drawings and brand standard?
Yes. Most suppliers work from client drawings, a brand manual or a site survey. The practical requirement is a confirmed drawing before glass and special profiles are ordered.
Q4. Do jewellery, cosmetics and apparel units really differ?
The carcass is similar. The differences are lighting, security and how much display is open rather than enclosed — low-glare high-CRI light for jewellery, even bright light for cosmetics, large glass for apparel.
Q5. How much does shop fitting cost per square metre?
It varies too widely to quote responsibly, because the same floor area can carry very different cabinet runs, lighting and finishes. Ask for a cost breakdown by workstream and a unit rate per cabinet type instead.
Q6. What should be checked before signing off the installation?
Levels and gaps under raking light, door and drawer alignment, lock function, lighting aim and colour consistency, glass edge quality, and a dated snag list. Photograph everything before the protective film comes off.


 ਪੰਜਾਬੀ
 English
 عربى
عربى русский
 中文简体
中文简体